Installation
Requirements
- Home Assistant 2024.1.0 or newer
- SunRiser 8 or 10 on your local network
- HACS installed
Install via HACS
- Open HACS in your Home Assistant sidebar
- Click the three-dot menu (top right) and select Custom repositories
- Paste
https://github.com/MrInterBugs/ha-sunriserinto the URL field - Set category to Integration and click Add
- Search for SunRiser in HACS and click Download
- Restart Home Assistant
Set up the integration
- Go to Settings → Devices & Services → Add Integration
- Search for SunRiser
- Enter your device's IP address or hostname (default hostname:
sunriser) - Enter the port if you changed it from the default (default:
80) - Click Submit
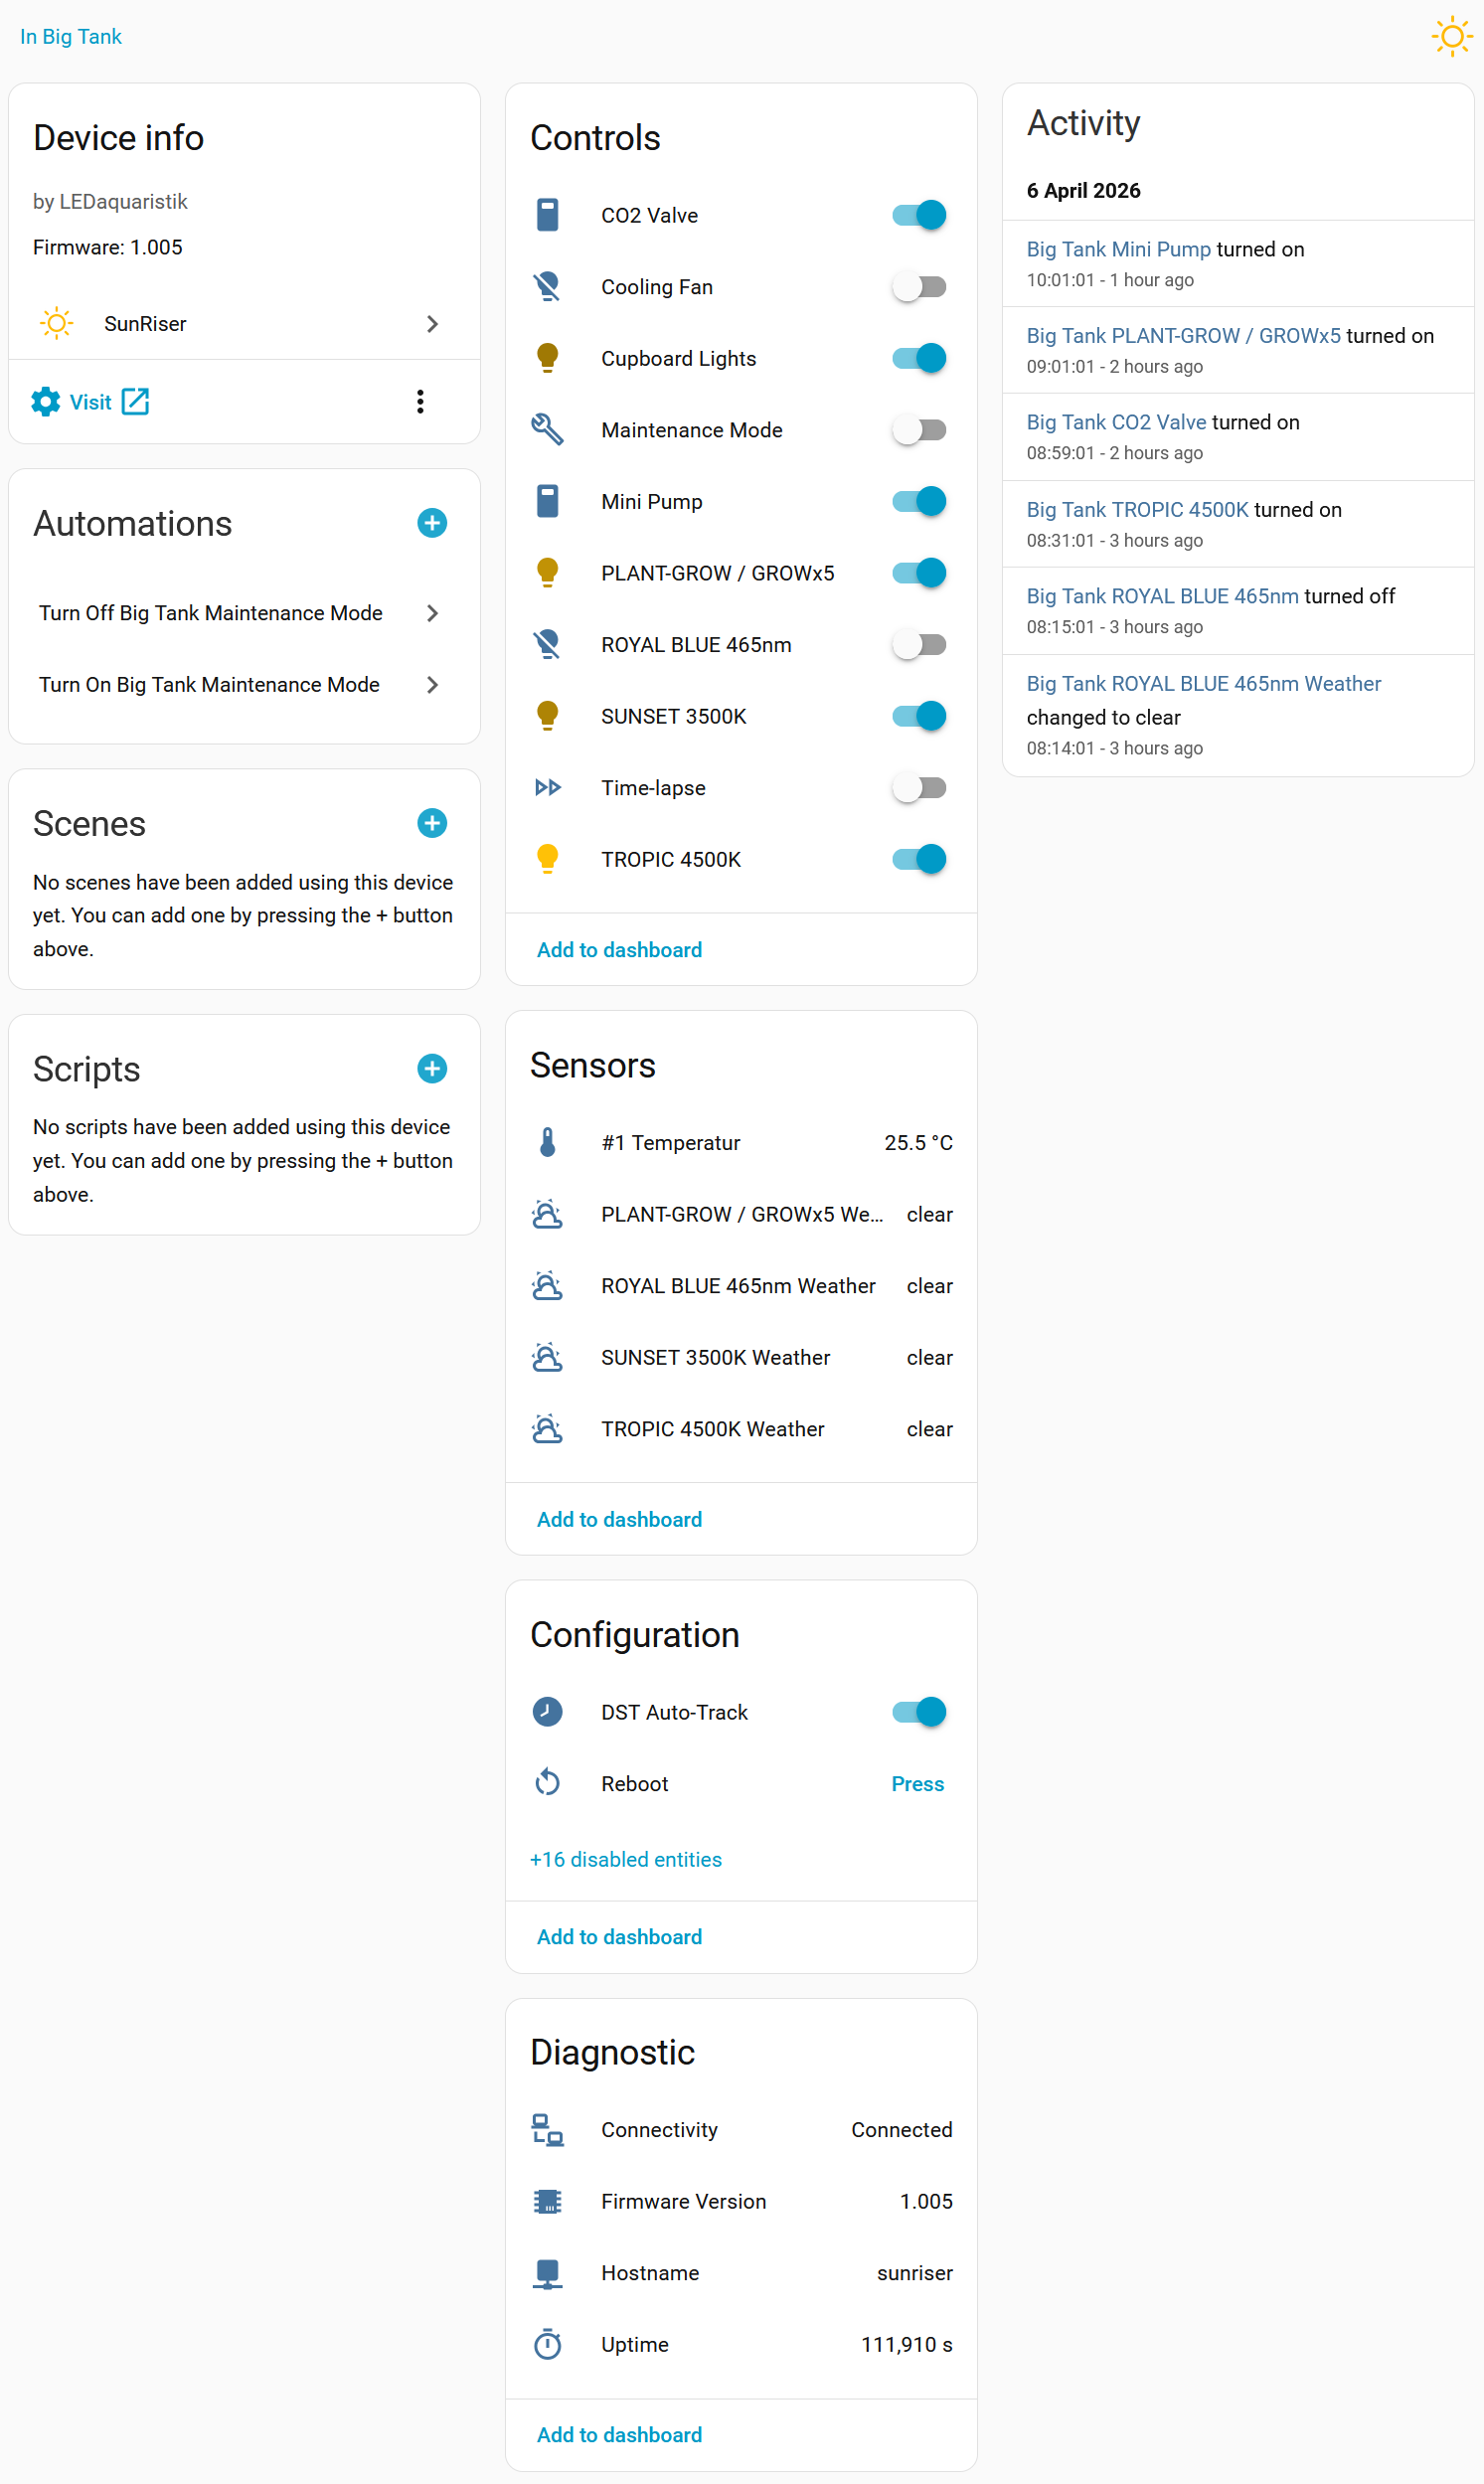
The integration will automatically detect all active PWM channels and temperature sensors on your device.
Note
Entities can take up to 2 minutes to appear after first adding the device (4 separate HTTP requests, one per poll interval). This is intentional — the SunRiser's WizFi360 Wi-Fi module can only handle one connection at a time, and the integration staggers its startup requests to avoid crashing the controller.
Automatic discovery
The integration can discover SunRiser devices automatically via DHCP. When a device with a hostname matching sunriser* joins your network, Home Assistant will prompt you to set it up. You can also initiate setup manually via Settings → Devices & Services → Add Integration → SunRiser.
Update the host or port
If your device's IP address changes, go to Settings → Devices & Services → SunRiser → three-dot menu → Reconfigure. You can update the host and port without removing the integration — all automations and entity history are preserved.
Remove the integration
- Go to Settings → Devices & Services
- Find the SunRiser integration and click the three-dot menu
- Select Delete
- If installed via HACS, open HACS, find SunRiser, and click Remove
- Restart Home Assistant